

Ski Touring
& Risk Space
During a ski tour, the danger of an avalanche is always present. Re-assessing risk depends on your knowledge and on being cautious when assessing the risk before each tour.
- Words
- Zeger Dox
- Reading time
- ~ 14 minutes
- Season
- Winter 22/23
- Series
- Risk Space, no. 1
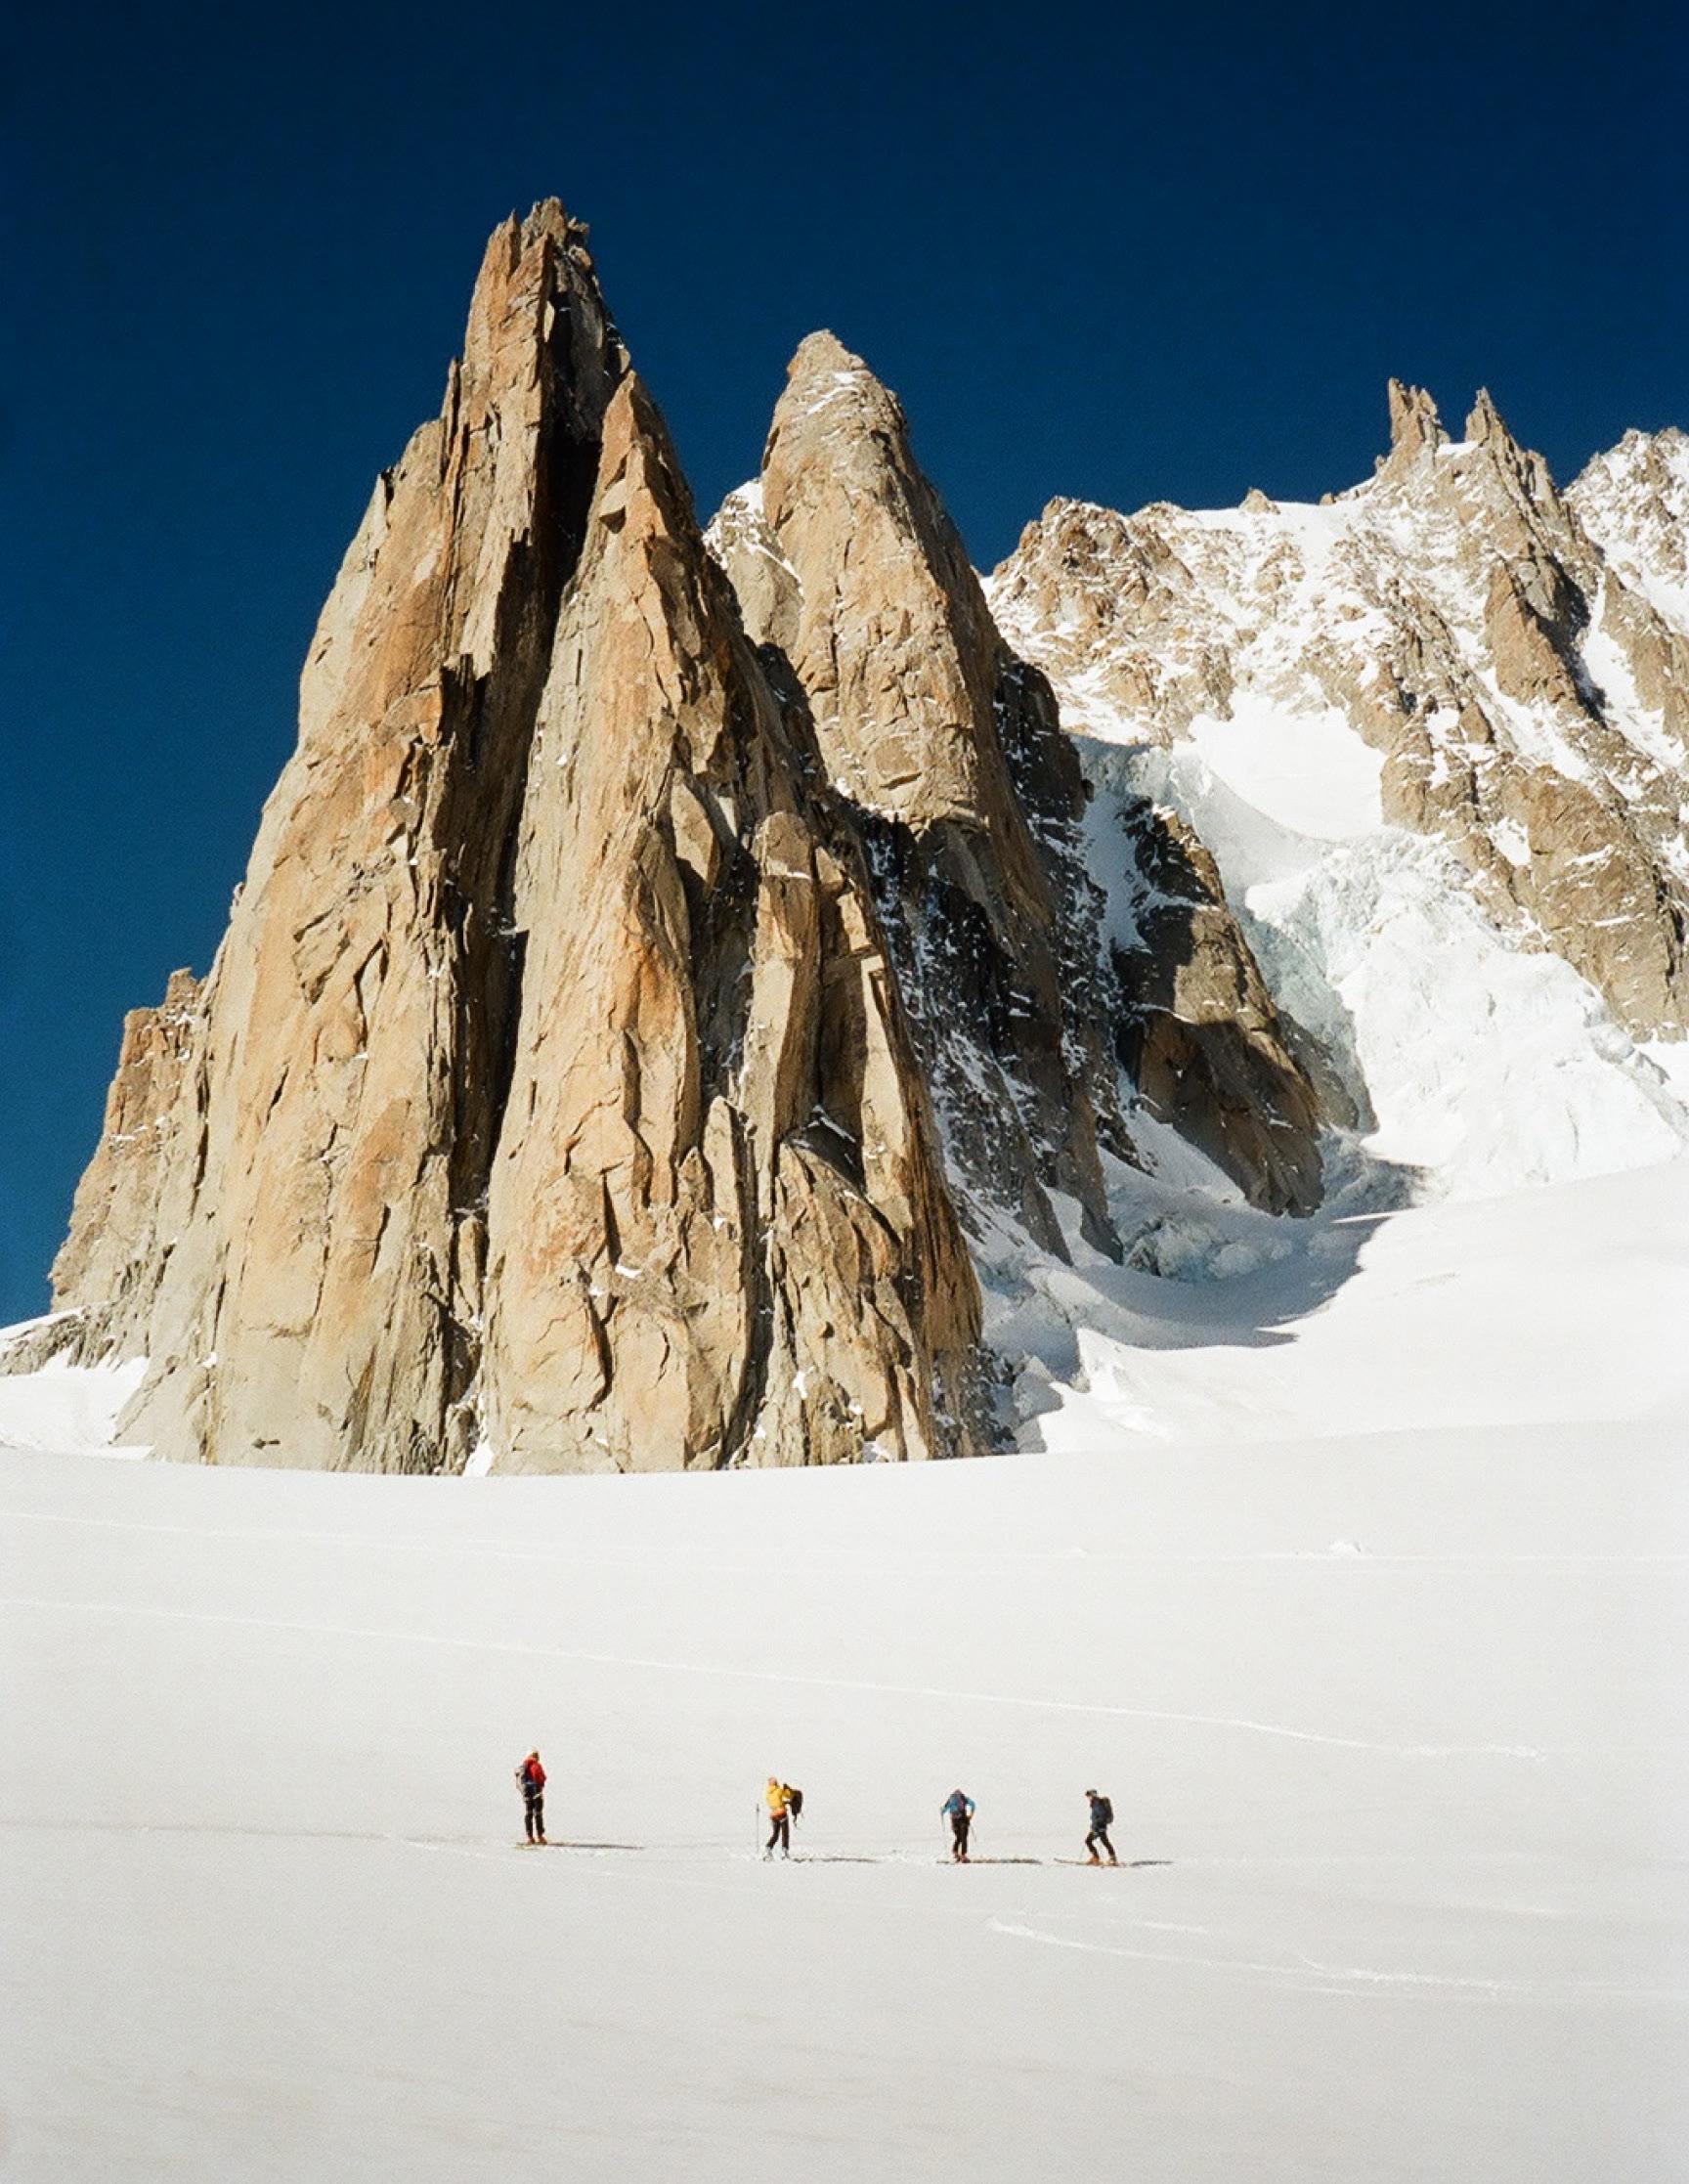
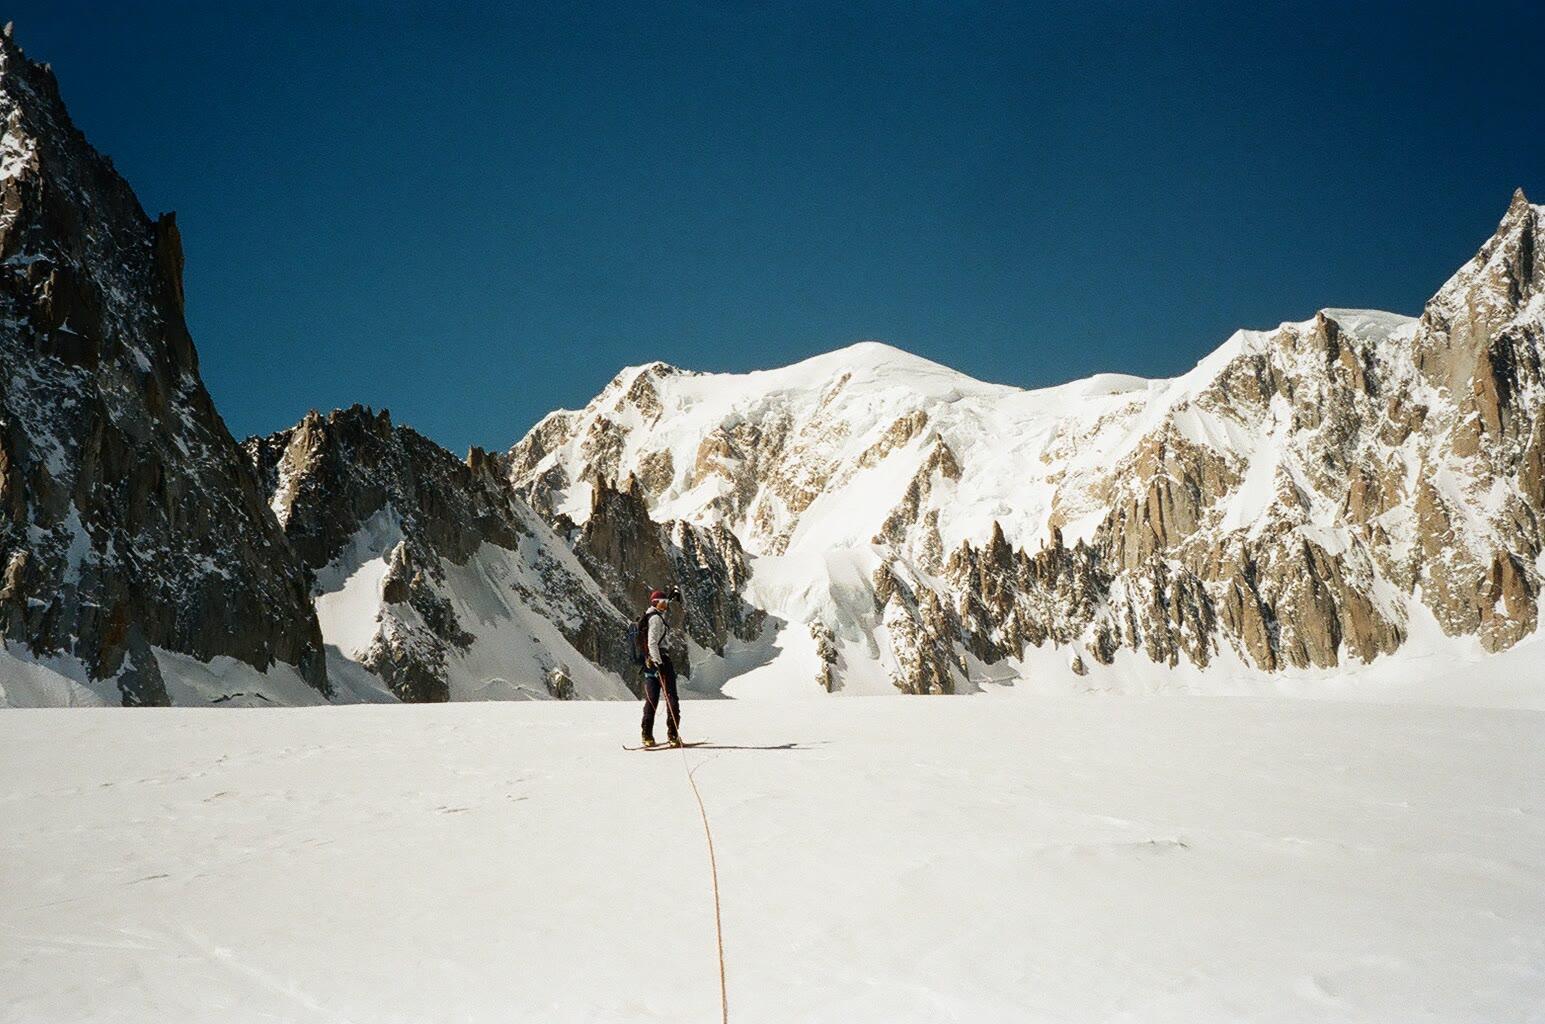
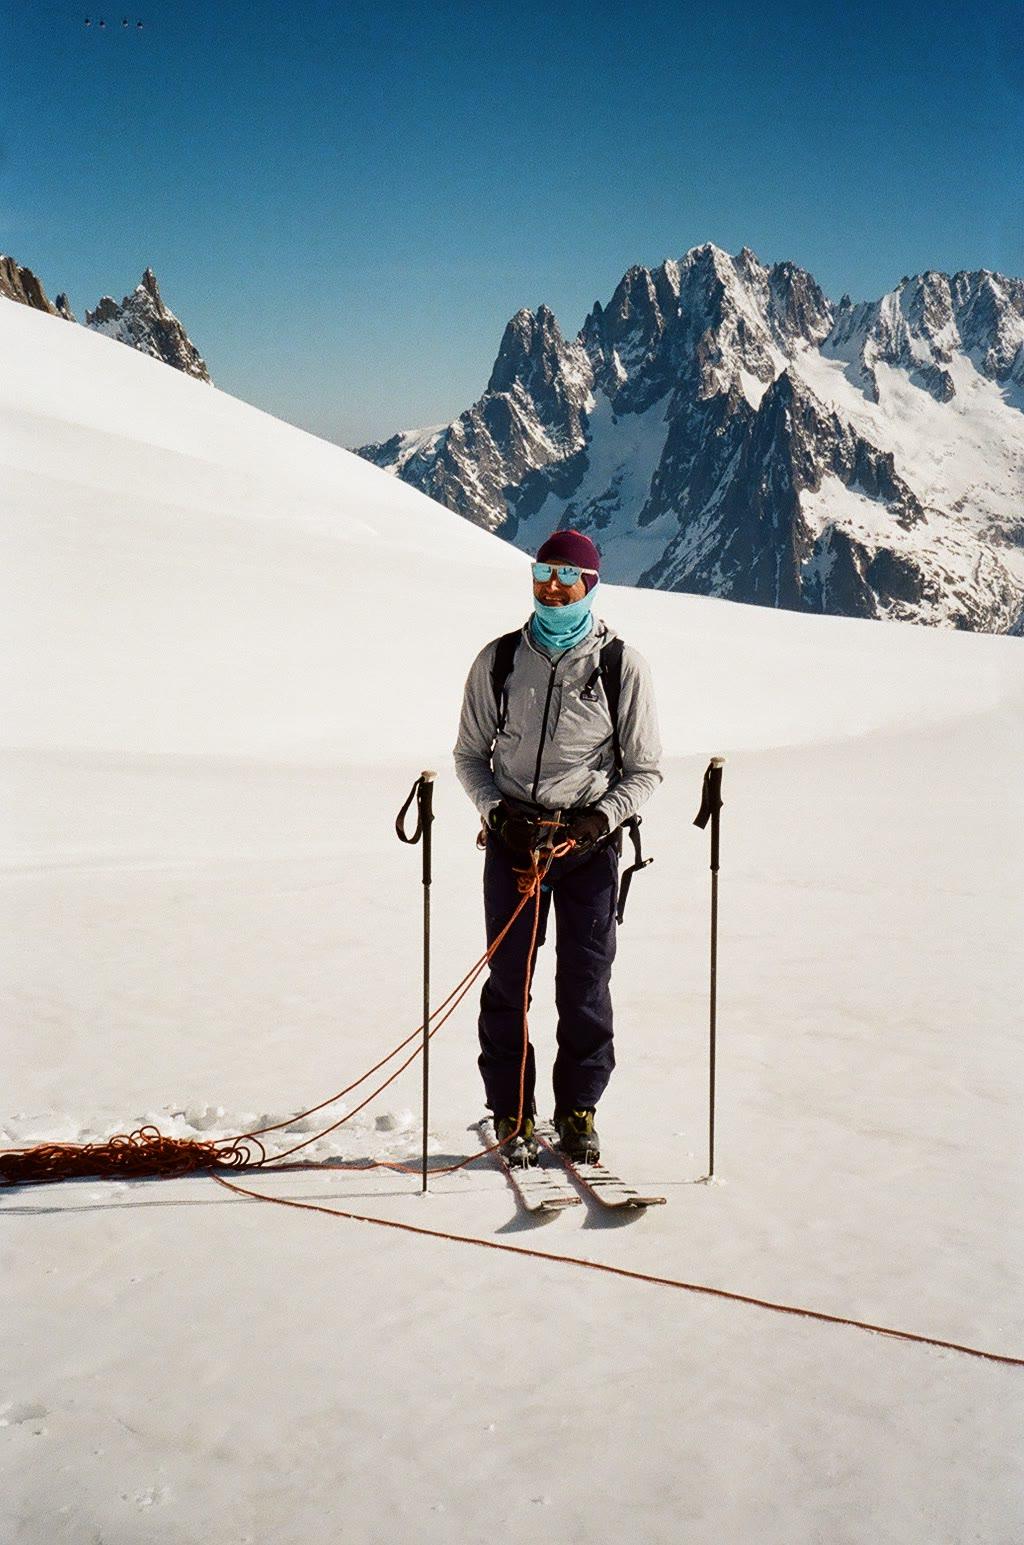
Photography by Zeger Dox — Snow Safety Course, Chamonix 2022. Kit images courtesy of Ortovox.
In this interactive guide you’ll obtain a better understanding of the statistics of avalanches, best practices for riders in the backcountry, the three essentials for touring, how to assess snow stability, a snow stability checklist, learn key points in avalanche awareness, additional resources to know about, avalanche accidents, what to do and how to search, plus immediate response to victims that have been buried.
Assessment of avalanches would be assessed from observing the current terrain and snowpack, taking into consideration the past and present weather, as well as slope stability tests. Ask yourself these questions:
- AskWhat information do I have that makes me think this slope is stable?
- AskWhat is the likely outcome for our group should the slope avalanche?
Statistics & Best Practice
4 in 10
1347
1000
Best practice
Best practice
An initiation or refresher course in snow safety at the beginning of each season is therefore a wise reflex for all types of independent mountaineers. Off-piste freeriders, snowshoe hikers, winter alpinists and touring skiers – we all want to descend in one piece at the end of the day.
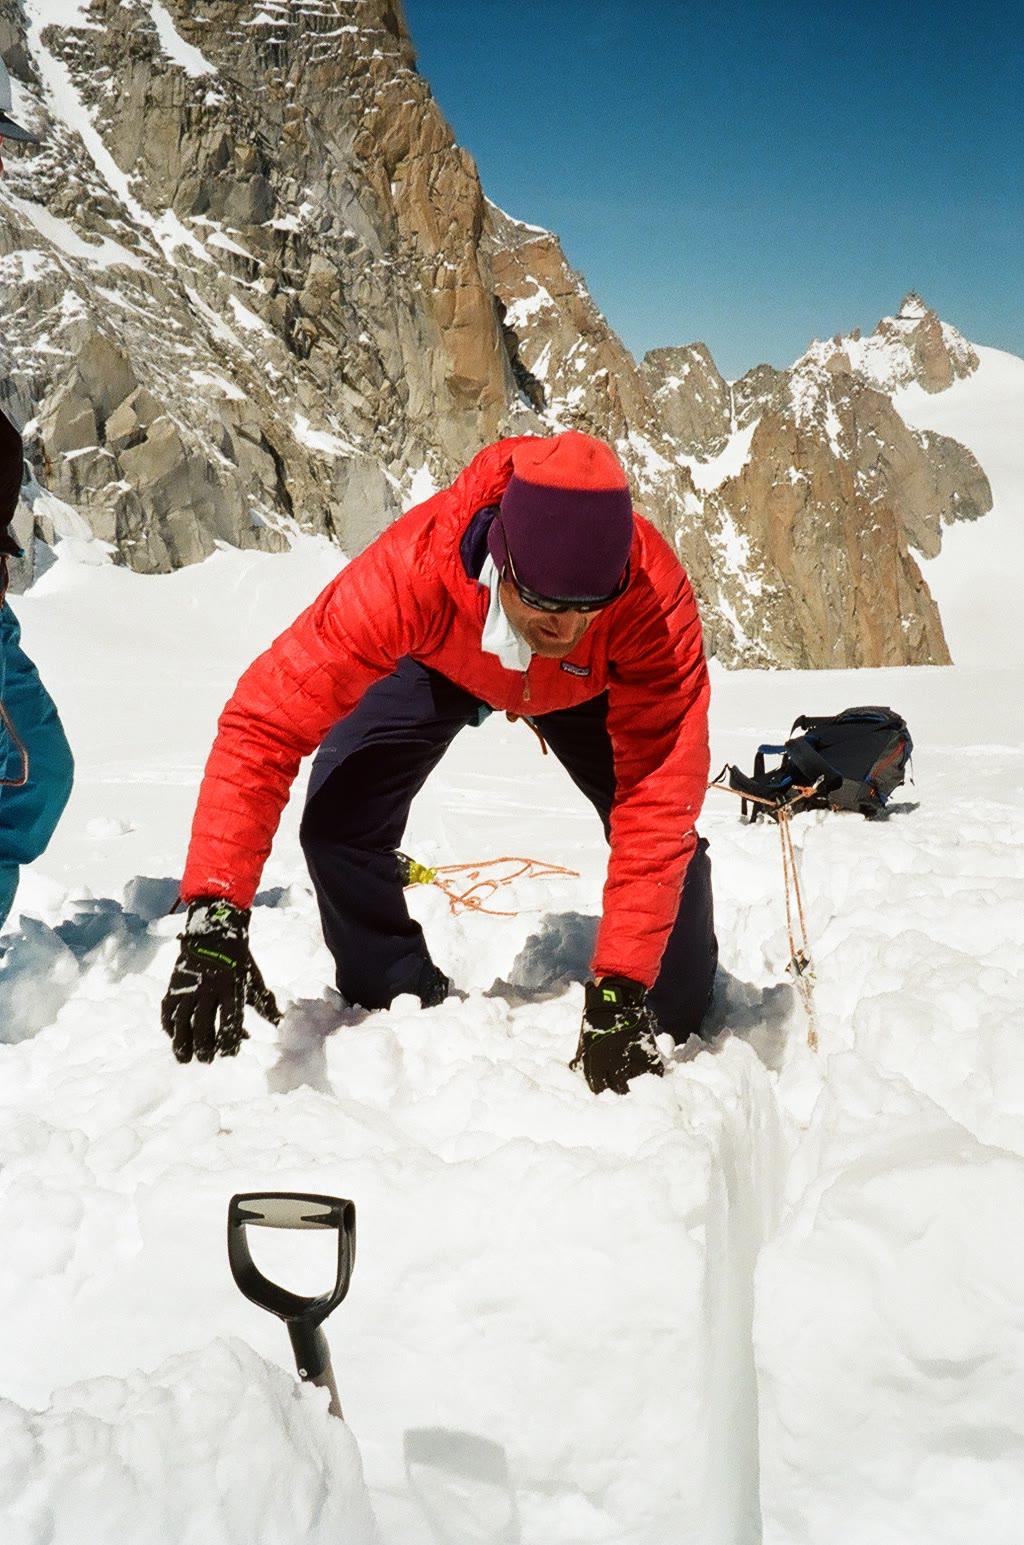
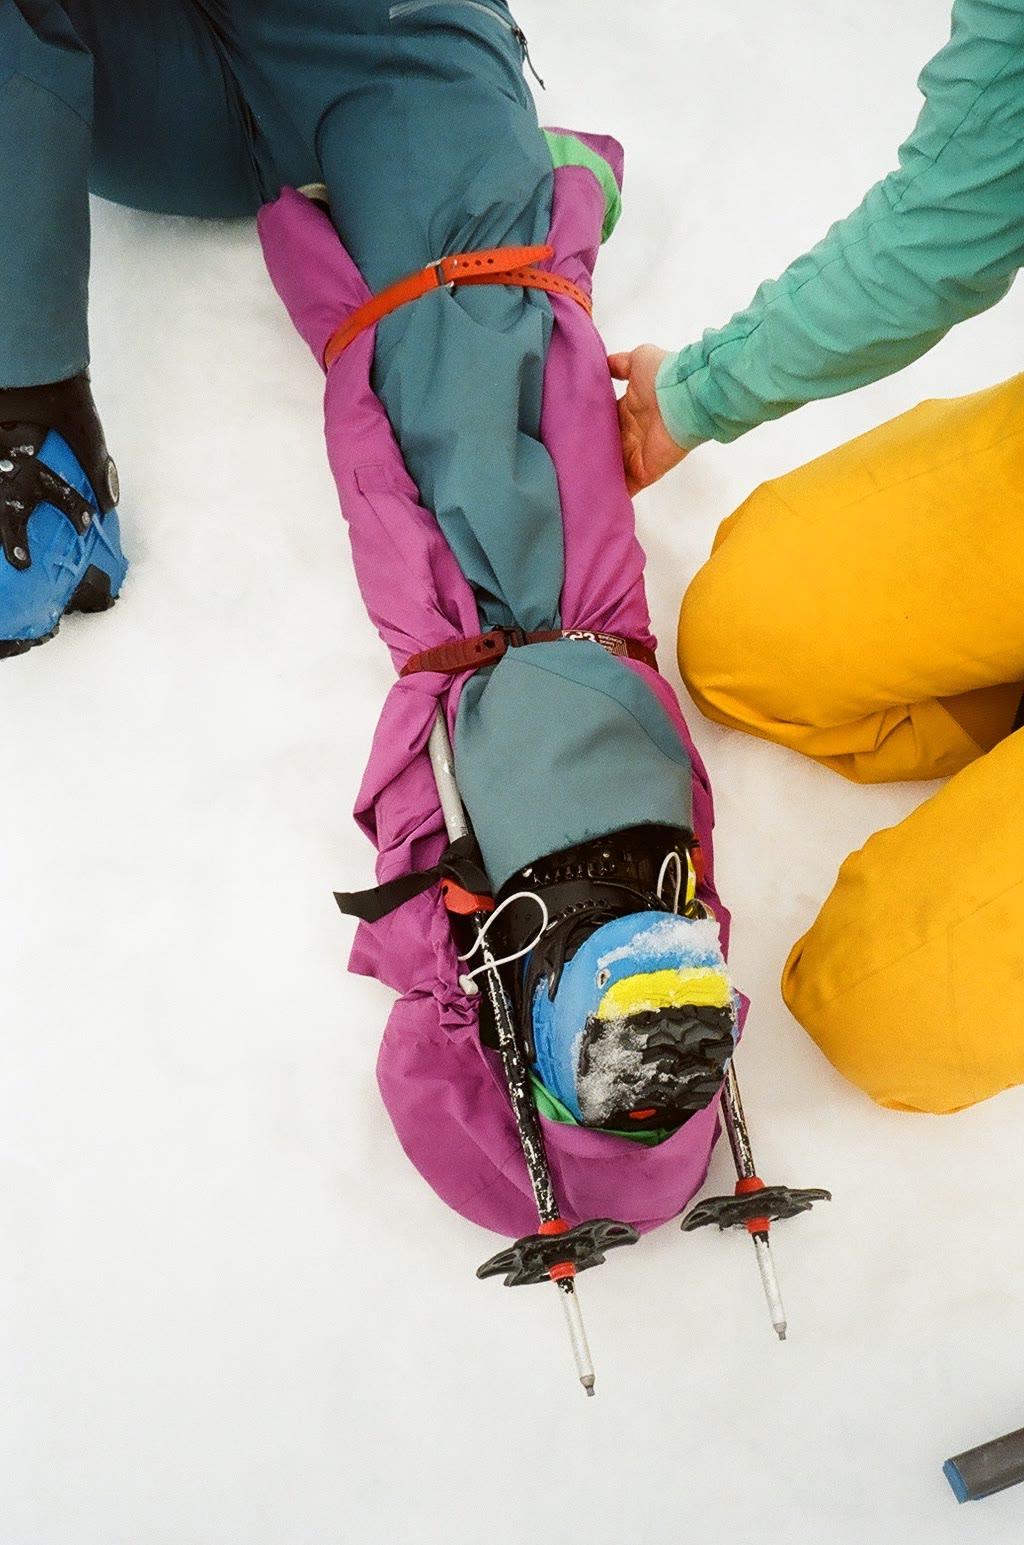
Courses in avalanche science and first aid come in many shapes and sizes. This winter I myself participated in a snow safety course in the mountains in the broadest sense of the word. We discussed theory in the morning and put our knowledge into practice throughout the afternoon. The main themes covered were first aid, avalanche science and general planning. We undertook numerous avalanche simulations with a variation of victims numbers and rescuers, we dug igloos to keep our ‘victims’ warm, fake bleeding was planted at the scene to simulate trauma, together we learnt and practiced resuscitation techniques on dolls and constructed splints for broken arms and legs.
Heuristics
The human factor
Many people automatically think of snow safety as avalanches. However, there are plenty of other factors to consider before putting on your skins or buckling your boots at the top of the slope. These factors are also often human. ‘Heuristics’ is the collective term for human mental shortcuts that influence decisions. Of these, peer pressure is the most well-known, but also individual expectations, previous experiences and uncertainty or excessive enthusiasm. For example, people who only have a few days of skiing vacation often take risks that they would not take if they had more time. Also, familiar descents are often mistakenly considered safe and people stick to a predetermined plan despite indications that this would be better adjusted throughout the day.
Variables
Avalanche danger
When estimating avalanche danger, you are looking at numerous variables: gradient of the slope, recent snowfall, presence of trees, quality of the existing snow, wind direction… With this all in mind, avalanche danger can never be underestimated. This is why our first port of call is to always consult the local avalanche report in advance, in which local experts assign a score between 1 and 5 to estimate the probability of an avalanche. To put this scale to task, it’s worth remembering that most accidents happen in areas with a score of 2 and 3. And not 4 or 5, as many people would come to expect.
Avalanche reports contain a lot of information about how this score has been arrived at. Advanced students would do well to delve into the details. To learn how to work with a transceiver (or ‘beeper’ as it is often called in North America), a probe and snow shovel, bigger ski resorts also offer an ‘Avalanche Park’, where you can sharpen your skills and your teamwork as a group in complete safety.
Primary care
Advanced first aid
For those that already have a first aid certification in their salopettes, it’s reaffirming to know that these foundational principles are also valid in the high mountains. But circumstances in this challenging environment can be much trickier. This is why simulating practical applications is of the greatest importance to ensure you are prepared to act quickly if and when things go wrong. First step is to save a life (bleeding, consciousness, breathing) simultaneously calling for support from rescue services as soon as is physically possible, ensuring that everyone within your ski touring group has the local emergency support number to hand at all times.
Planning
Prepare to fail
Don’t be too ambitious when you take your first steps off the beaten slopes. Plan manageable tours and know your own limits. Deep in to inhospitable terrain is not the place to test it out. In our digital age, we are blessed with numerous websites where you can find GPS files for detailed tours including hut-to-hut overnight refuge stops. Useful tools such as the Fatmap app allow you to project the slope gradient onto a 3D map, to get a better view of the terrain from home. The websites of course providers and reputable brands are a source of information too. A golden tip is the Snow Guide Book in the online Safety Academy on the Ortovox website.
Discuss your tour in advance with everyone in the group, don’t forget to talk about options to turn back, and plan moments throughout the day when the plan can change. Big dreams, small steps! Before you know it, you’ll be on your way from hut to hut on a multi-day winter tour.
The Three Essentials
Transceiver
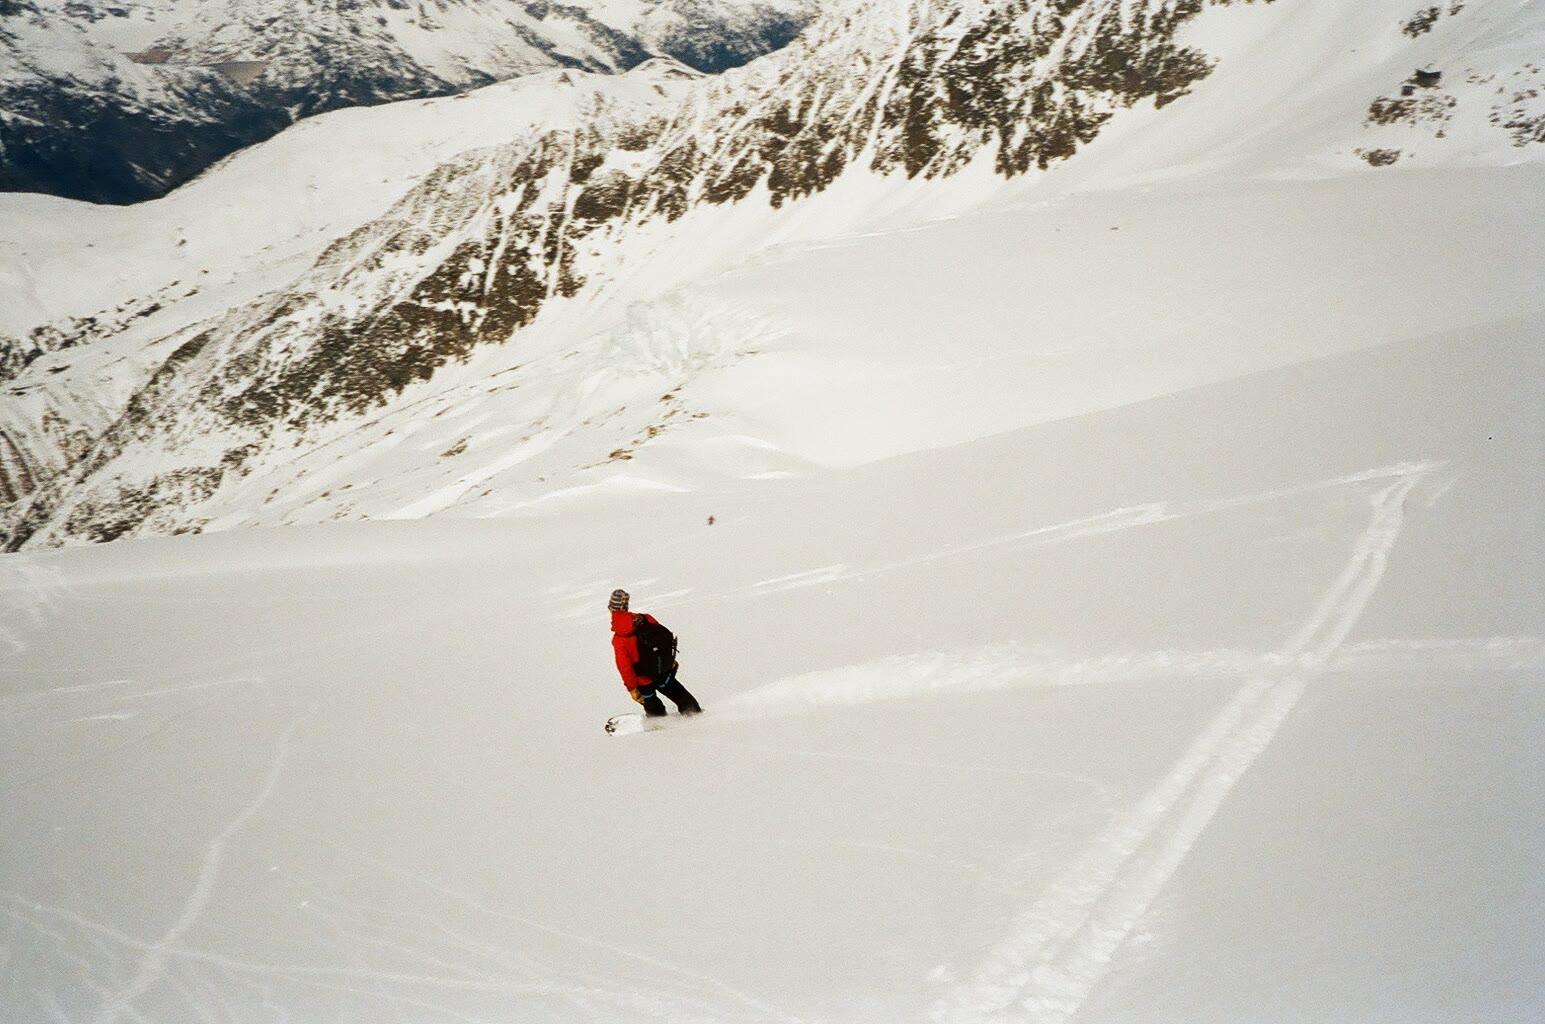
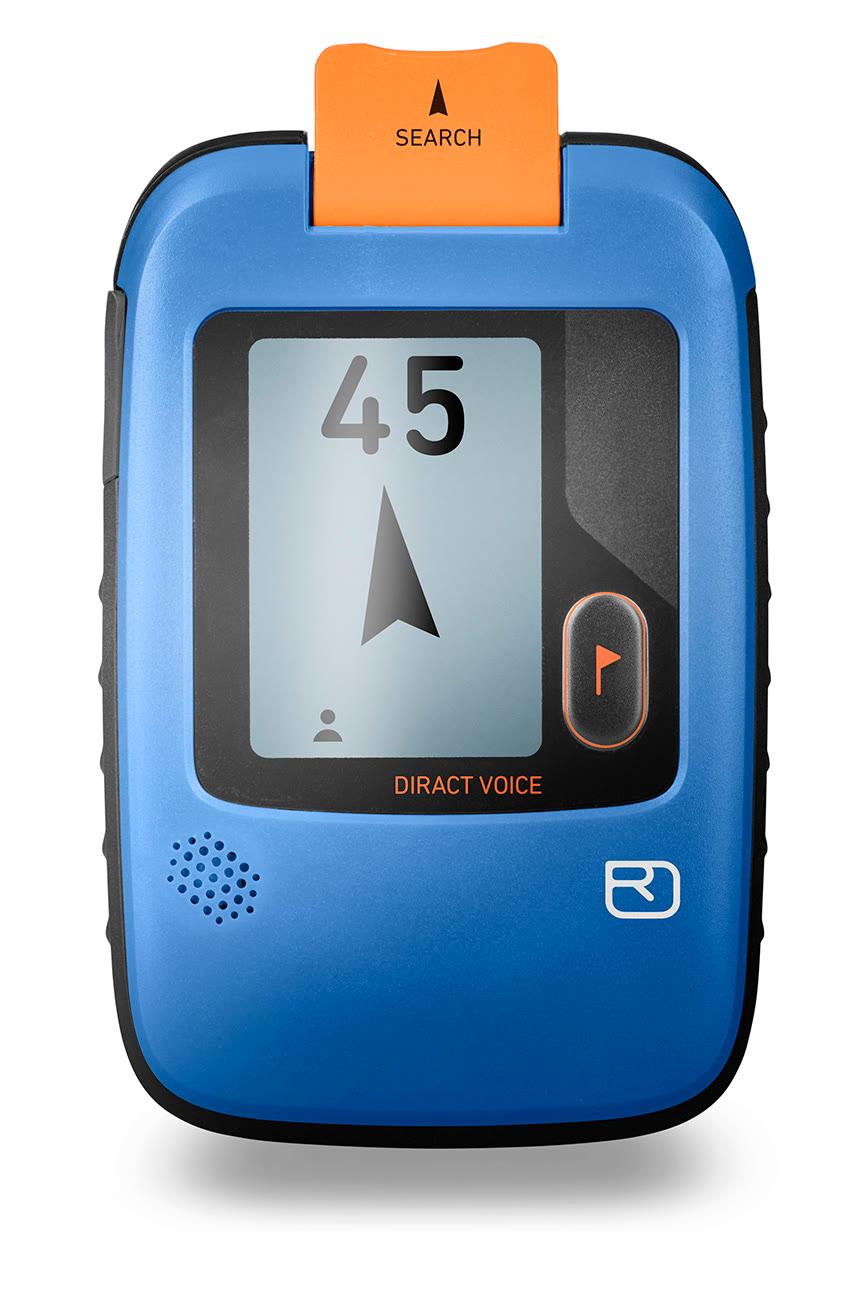
Owning one will not stop you getting caught in an avalanche, but if you are buried it is almost your only hope of being found – dead or alive. A transceiver is not a substitute for good practice, it is part of it.
Snow shovel
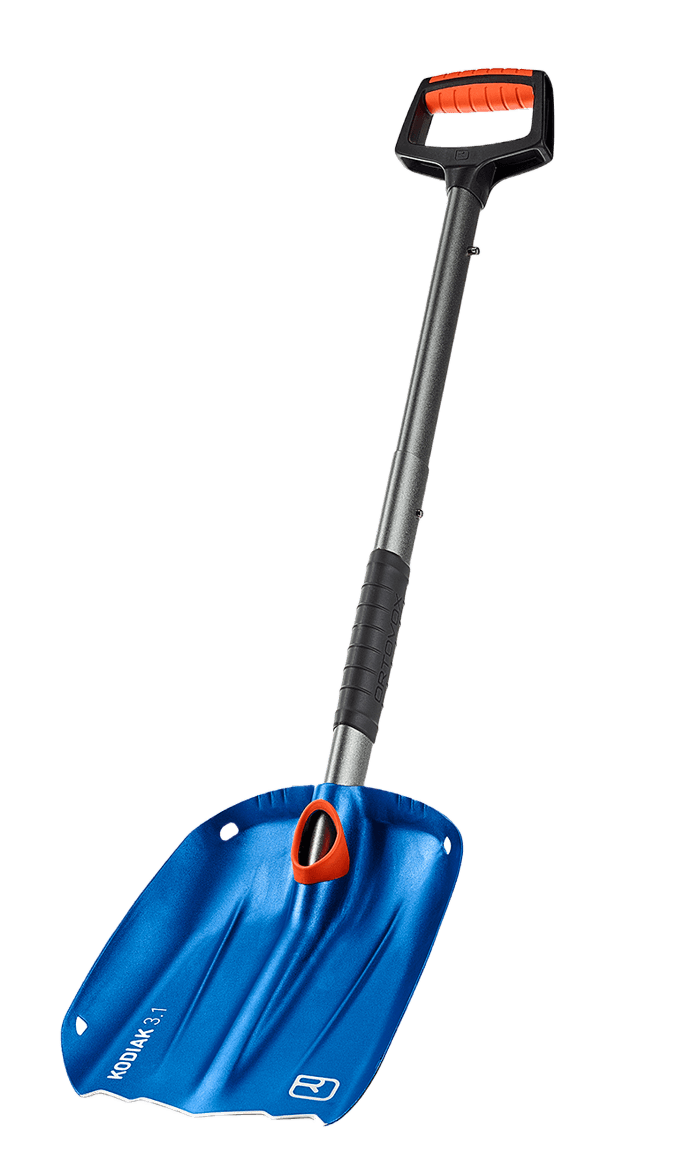
It is not enough to have one or two shovels in a group of four or six skiers. Everyone should carry an avalanche shovel. One reason why I like touring with North American clients is the size of their shovels! They carry big metal-bladed things that can shift snow fast, not flimsy things the size of dessert spoons. This really is a case of size being important. Don’t bother with tiny blades that attach to ice axes or ski poles that bend the moment they come into contact with hard snow. If you were buried what would you want your rescuers to use? A JCB?
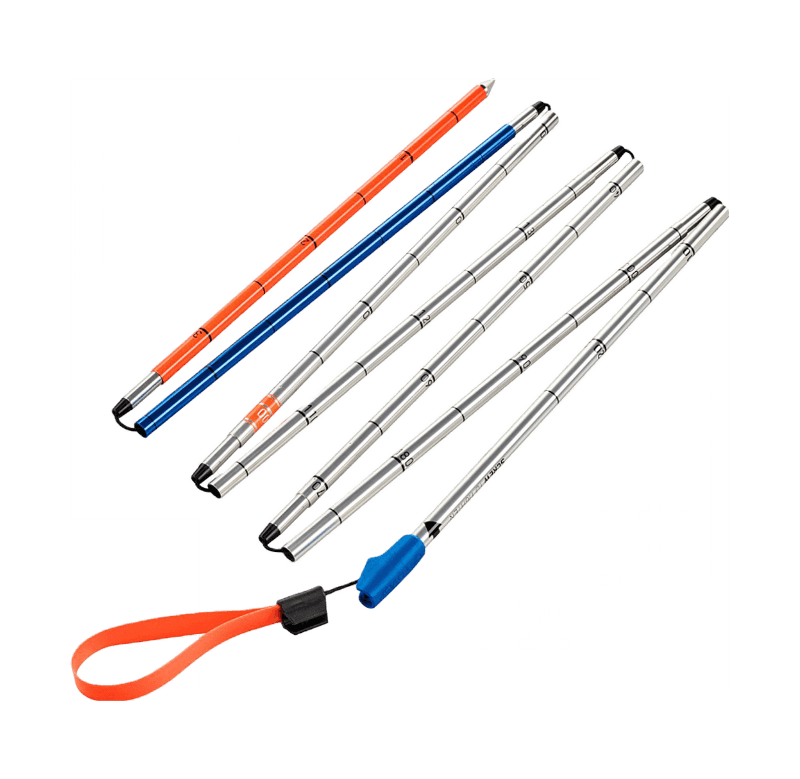
Probe
Used in conjunction with a transceiver avalanche probes can quickly establish the exact position of a body before initial digging. For a final search or deep burial they are a must.They are also useful for testing the snow structure by probing rather than digging once you know the snow profile on a given aspect. This is particularly useful on the move. But it is not enough simply to carry these essential tools, you have to know how to use them in an emergency. Especially with dealing with multiple burials where you have to work as a team. Practice regularly.
Practice
One person with their transceiver in receive mode should ski away from the group so that the remaining members of the group can ski towards them one at a time. The person on receive should indicate when they’ve picked up a signal and their receiver should also be transmitting correctly. All members of the group should carry spare batteries in case they experience any malfunctions.
Snow Stability Checklist
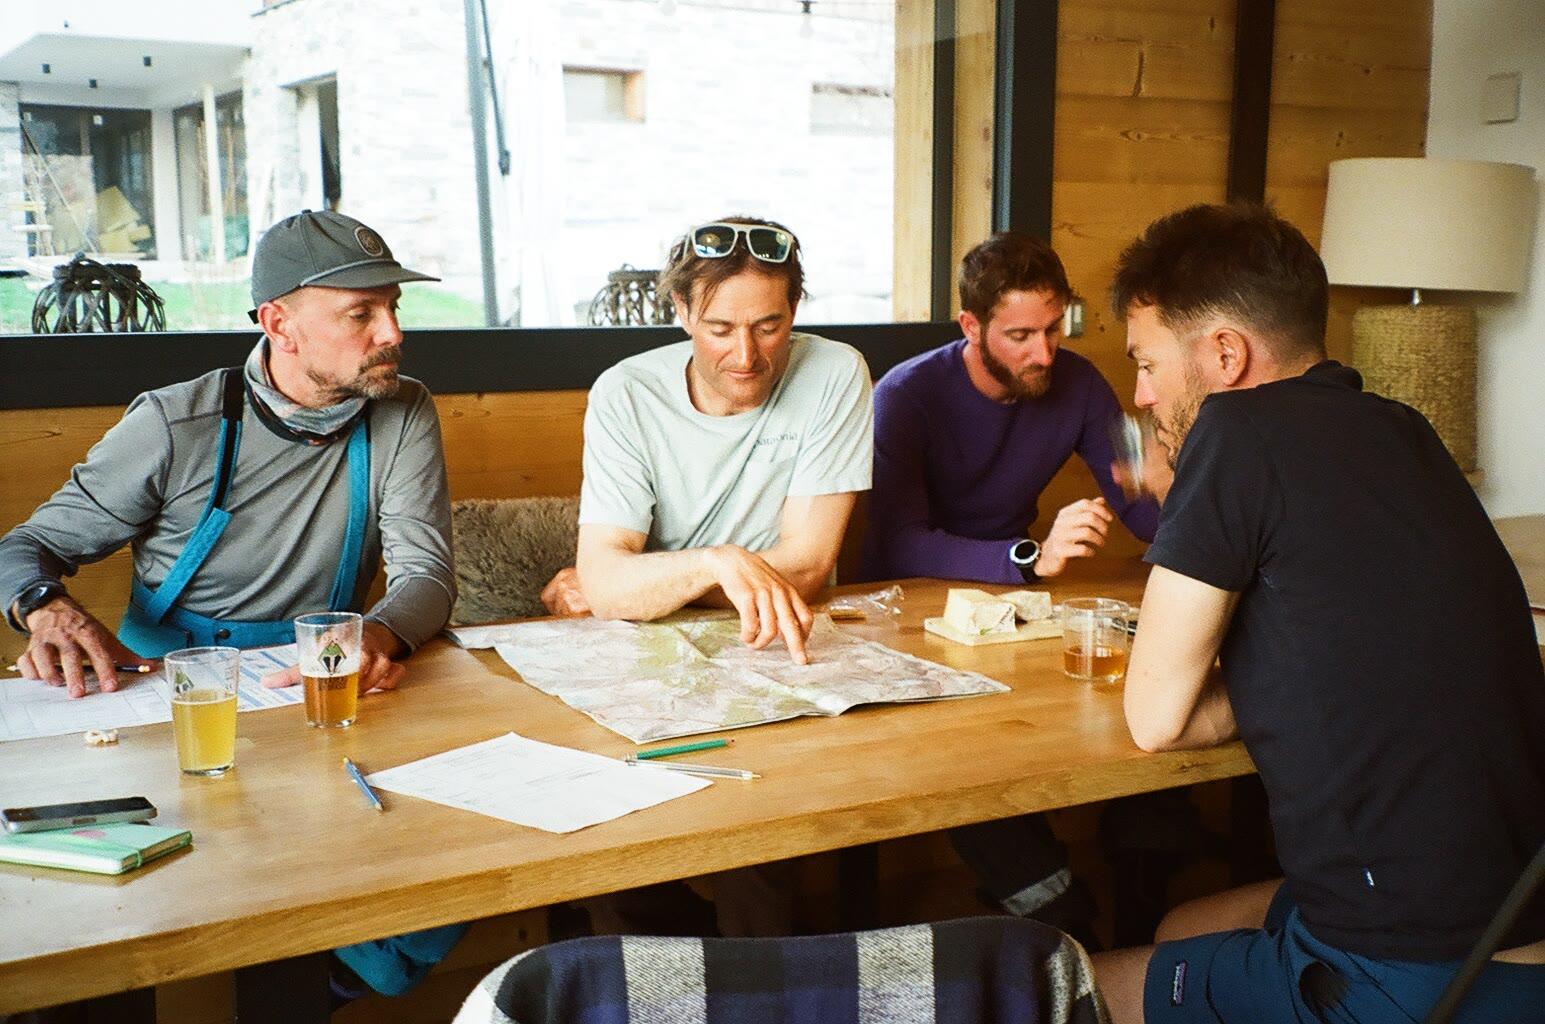
Assessing snow stability
There is a lot you can do to assess snow stability before you go on tour. Snowpack is the result of past snowfall and weather conditions, and you need this information to understand how it has built up. Weather reports, avalanche bulletins and websites provide an often detailed picture of what conditions have been and are now like on the hill.
This is a checklist for assessing snow stability similar to those used by British mountain guides and avalanche professionals around the world. I’m always surprised by how easy it is to overlook obvious signs of both danger and stability. The checklist is useful as an aide-memoire to help systematically observe, test and record pertinent information and so build up a profile of snow stability at a particular time and place. This information provides a more complete picture when the time comes to make a judgement about avalanche danger.
Obviously, some techniques here depend on knowledge and skill. Snow profiling and various stability tests, including the shovel shear test and Rutschblock, although quickly learned, require training in interpretation. Anyone committed to ski mountaineering would be well advised to attend some kind of avalanche awareness training course.
Stability tests need to be carried out regularly. Although they can seem like a chore they do not take a great deal of time and they provide essential information. Once armed with the information in the chart above the picture of snow stability becomes a lot clearer. It may not be perfect, but it is better than a piece of seaweed or the ‘It must be stable because someone else has skied it’ approach to avalanche risk assessment.
Having made an assessment you can then modify your route or procedures on tour to maximise safety.
Further Reading
- 01Key points in avalanche awareness
- 02European avalanche hazard scale
- 03Avalanche accidents
- 04The search
05Immediate response to victims
Adequate primary care requires correct training in first aid. Ideally everyone should have this.